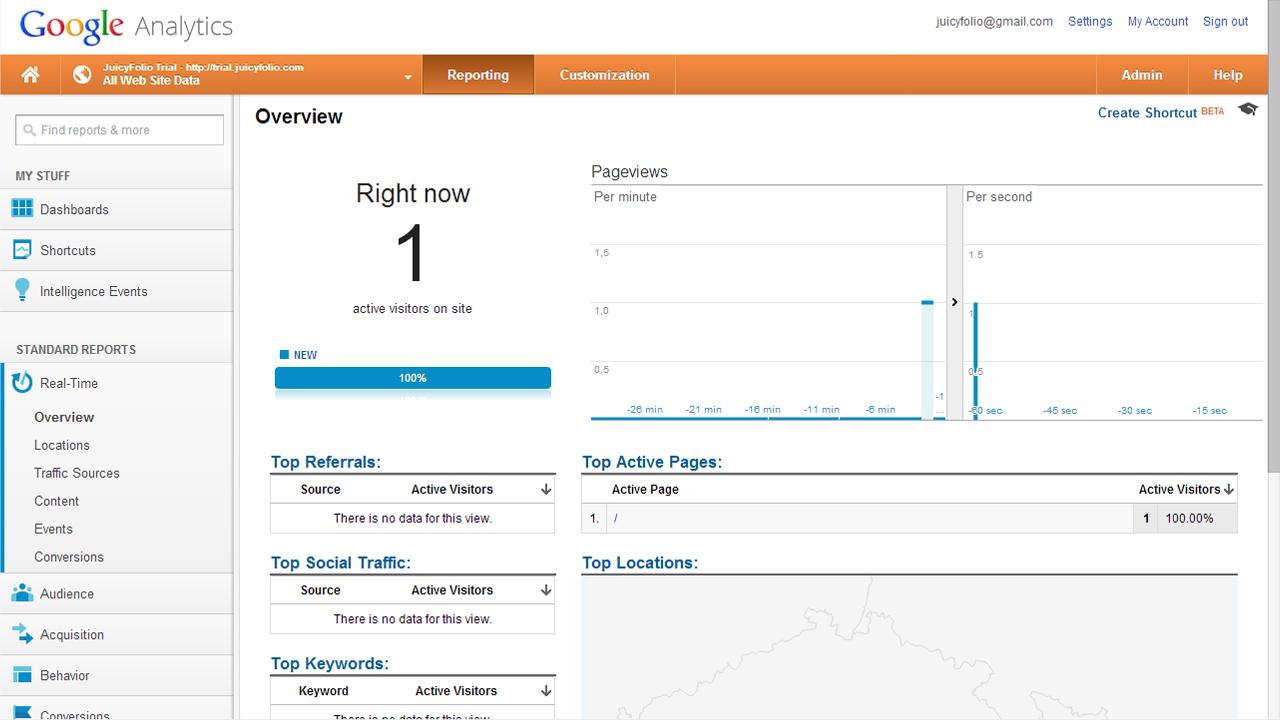
In this overview, we will firstly show you how to create a Google account. If you already have an account, you can skip first two steps and continue to "Access Google Analytics".
Creating Google Account
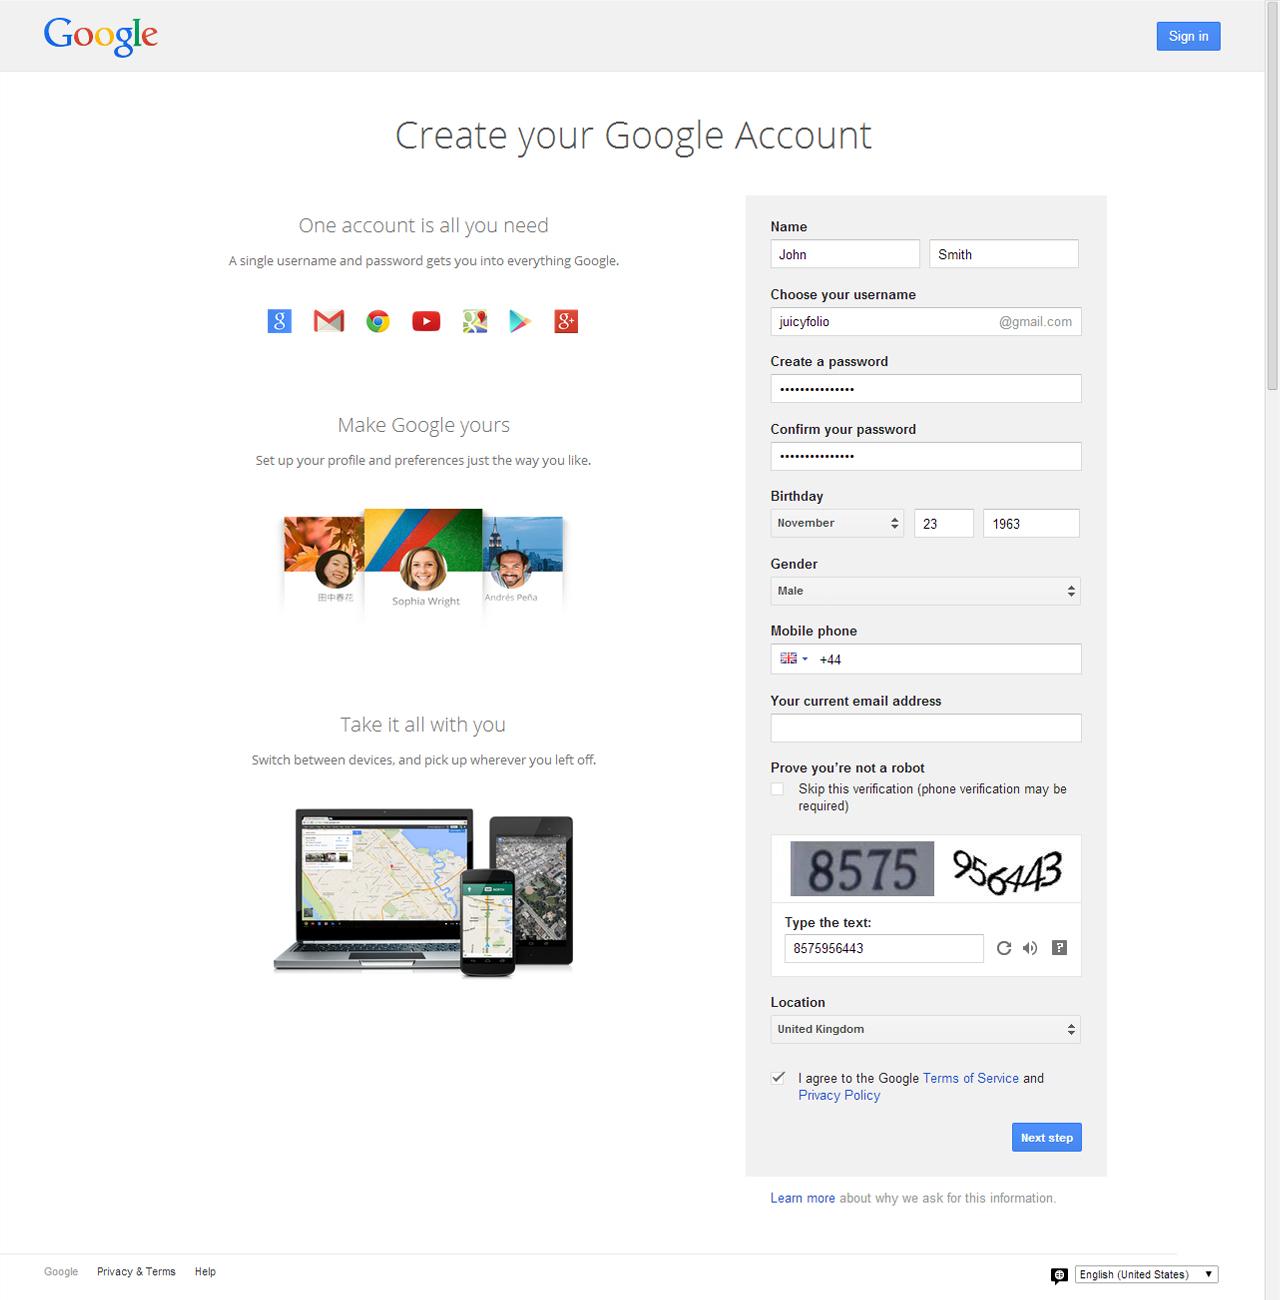
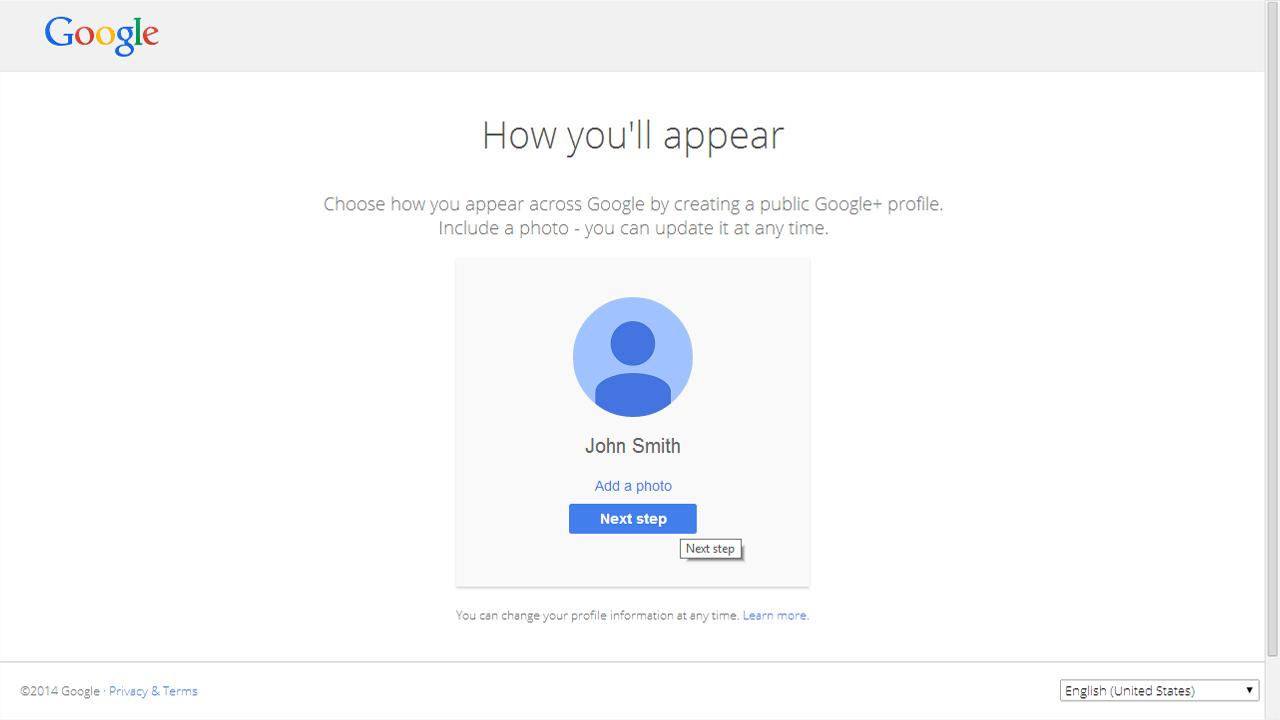
If you don't already have a Google account, visit https://accounts.google.com/SignUp, where you fill in a registration form. In an additional step, you can choose a profile image for your Google account.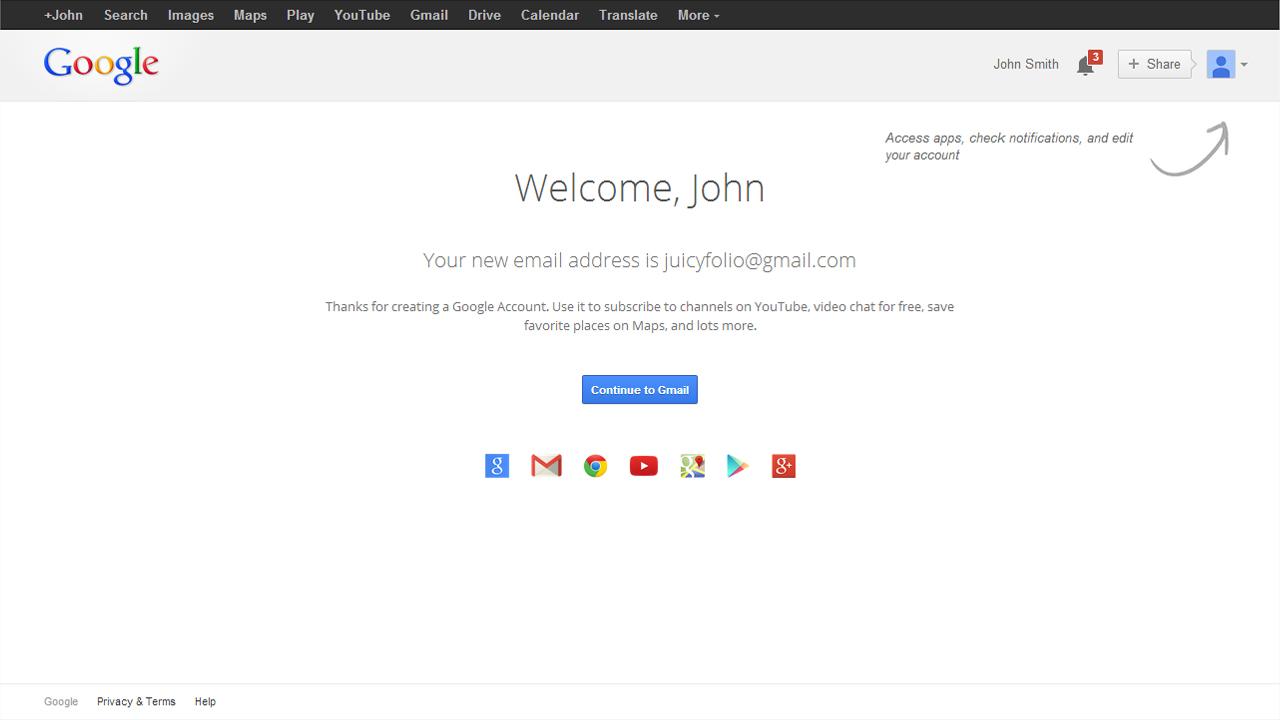
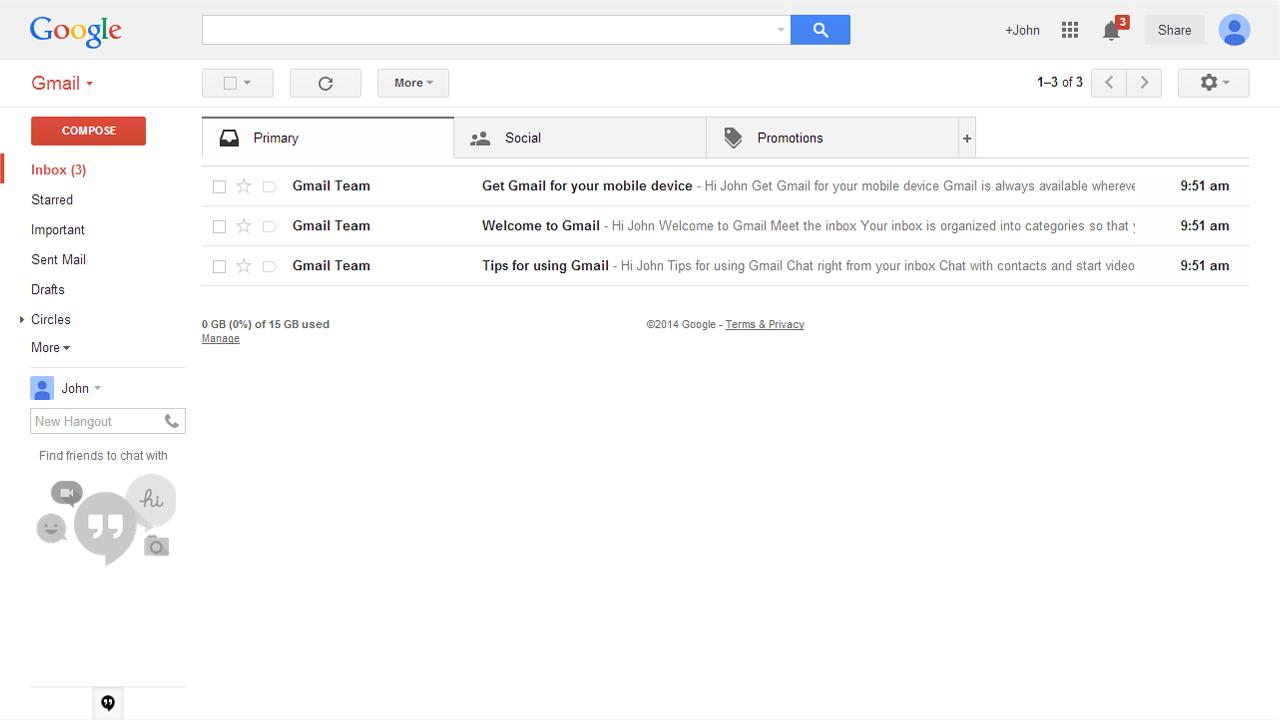
Registration Complete
When you successfully create your Google account, you will be transferred to your new Gmail profile. Your new account will now serve you as a connection to all Google services, including Analytics.
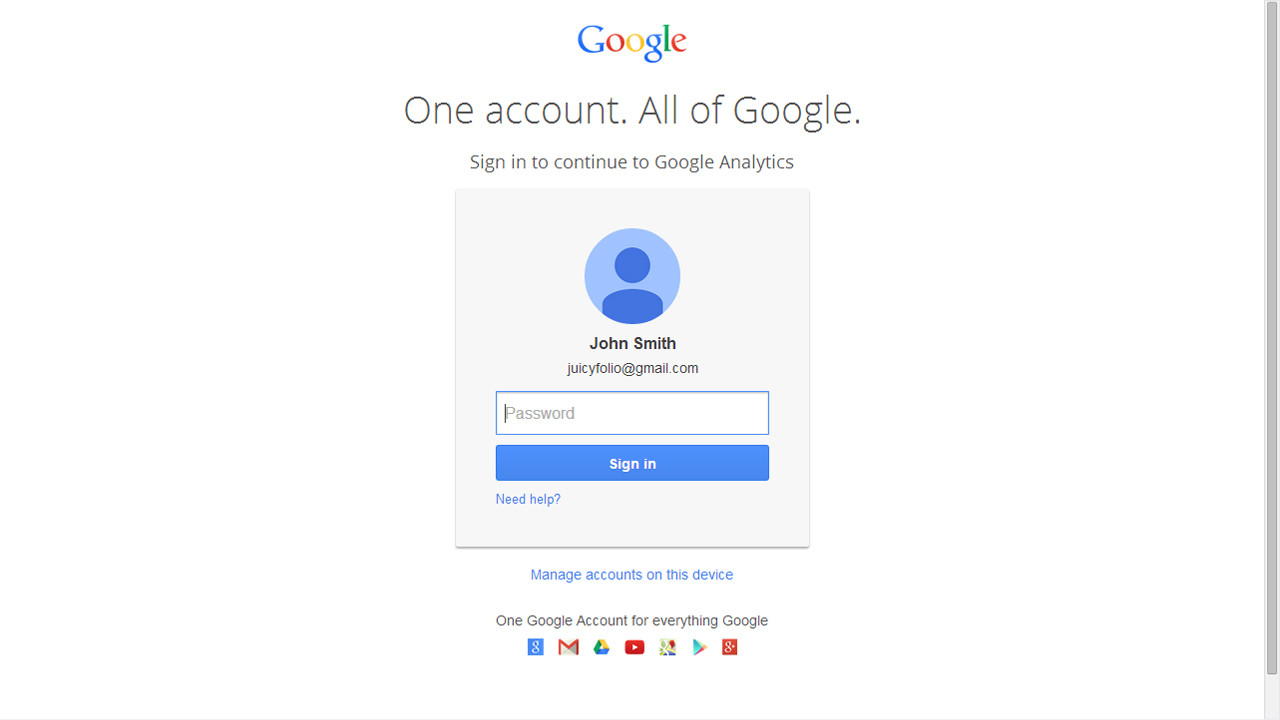
Access Google Analytics
You can now access Google Analytics on http://www.google.com/analytics/. There, you simply sign in with a Gmail account that you created earlier.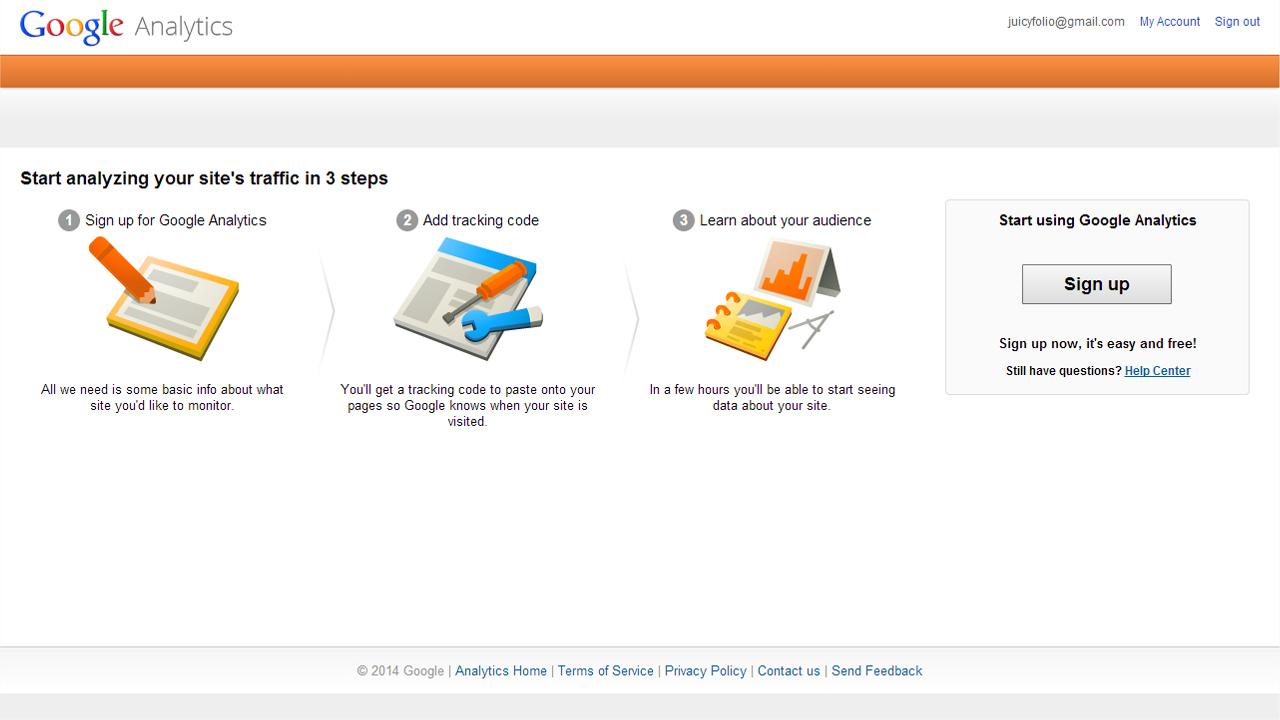
Setting Up Analytics Account
When you are now signed in with your Google account, you can proceed with your registration to Google Analytics itself.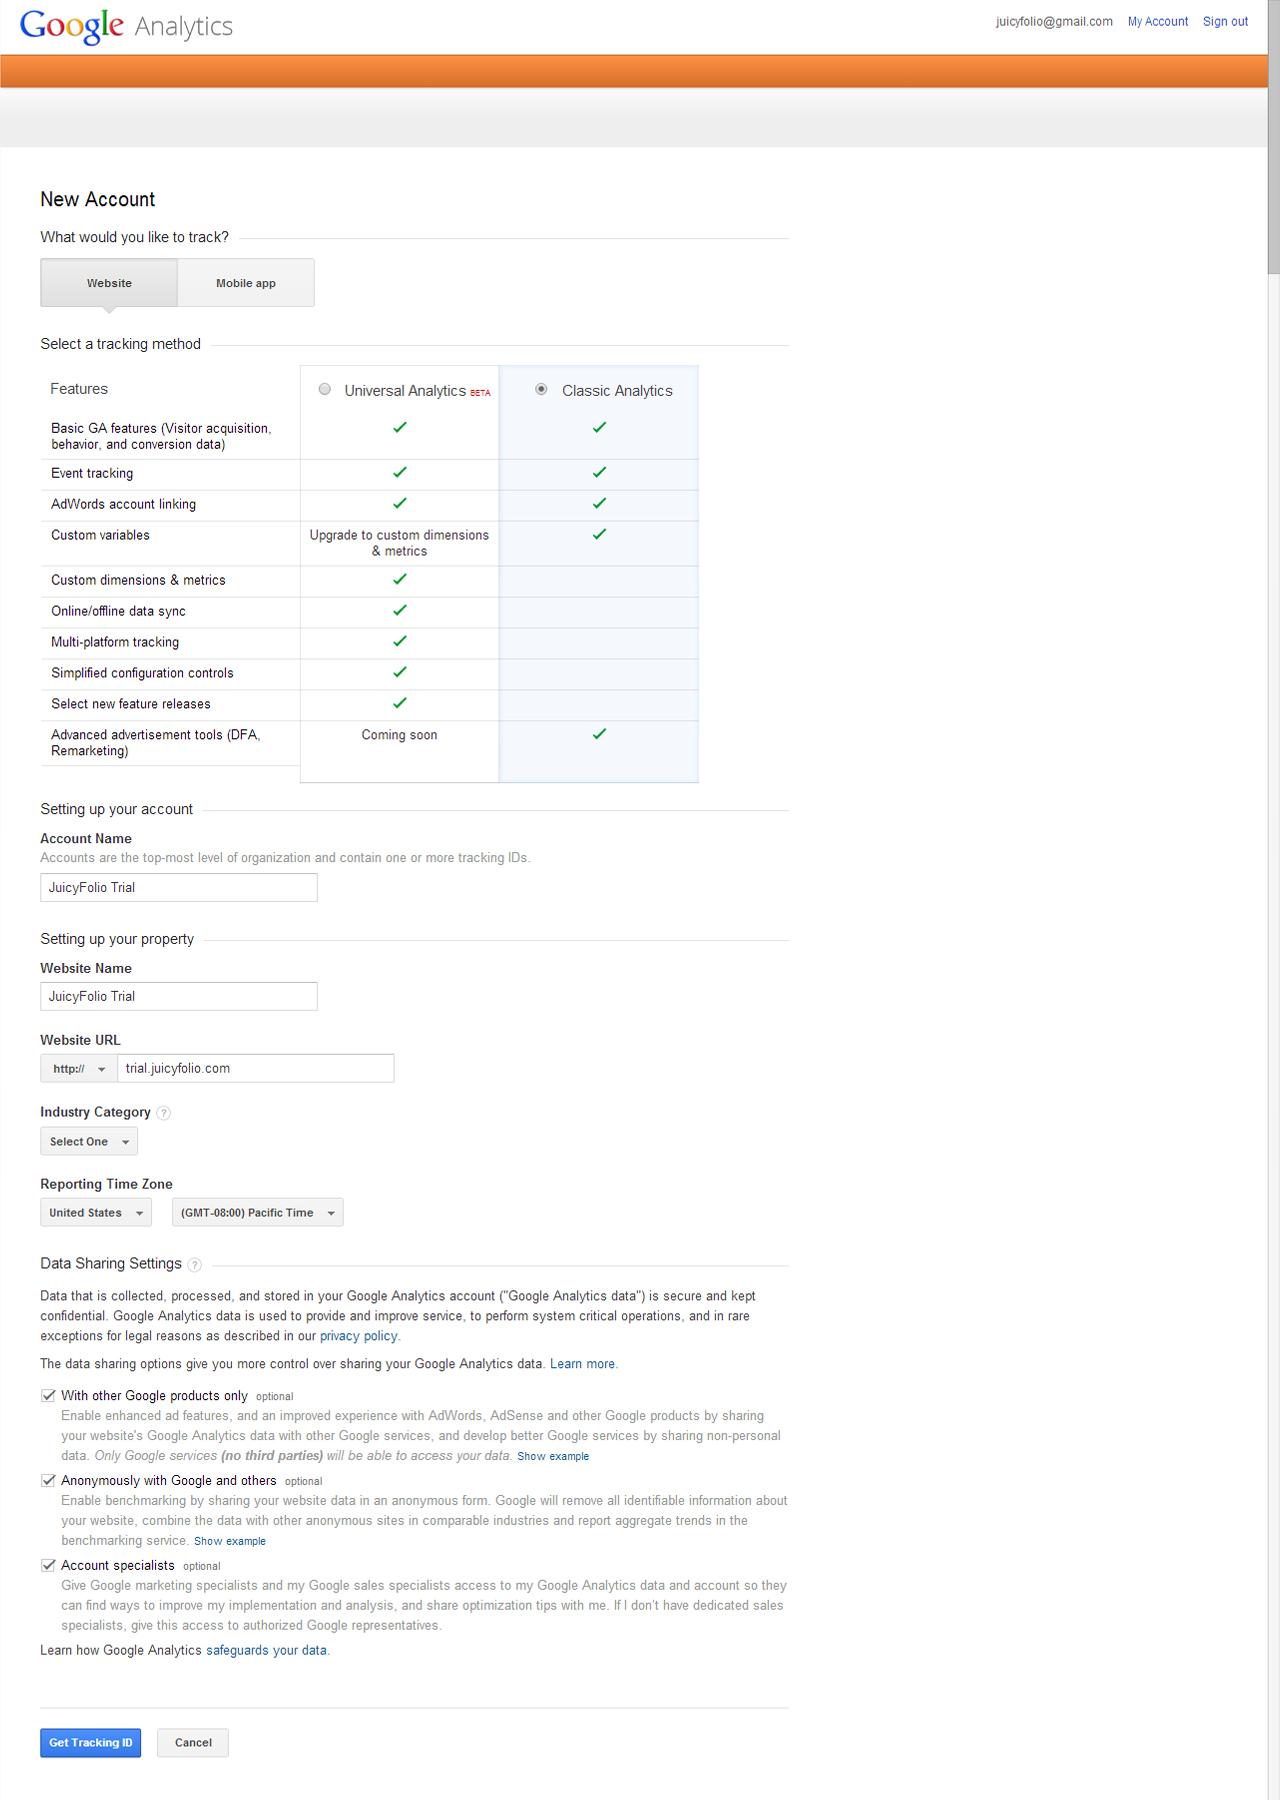
Filling Out Address for Your Website
Fill out an internet address of your website (trial.juicyfolio.com) without the "WWW" to the "Website URL" column. You can check your address in the trial version of your website and than, after you buy a domain of your own, you can change it, as well as the name of your account or profile. However at this moment, everything must be filled out.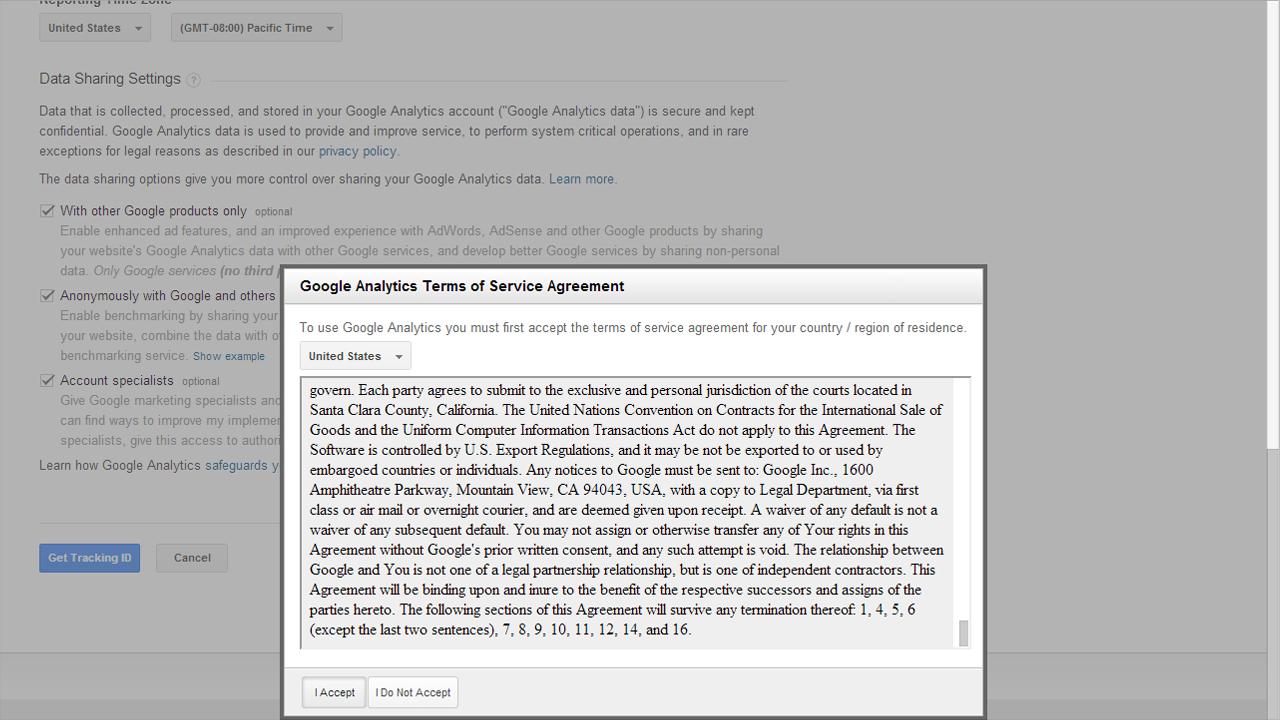
Agreeing to Terms & Conditions
For gaining access to Analytics, you need to agree to the terms and conditions.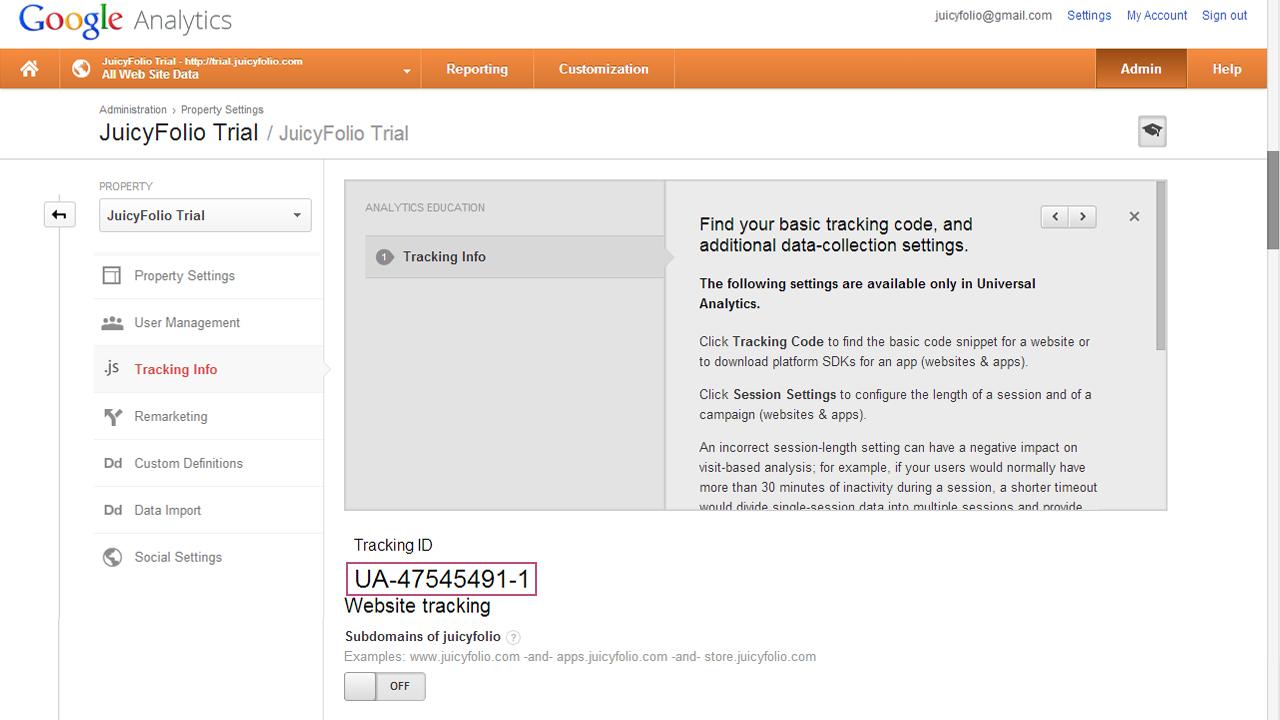
Getting Code
After your registration, Analytics will send you to the Tracking Info page, where you will find a tracking ID code. You simply copy this code and paste it into your administration (this will be specified further in the fallowing step).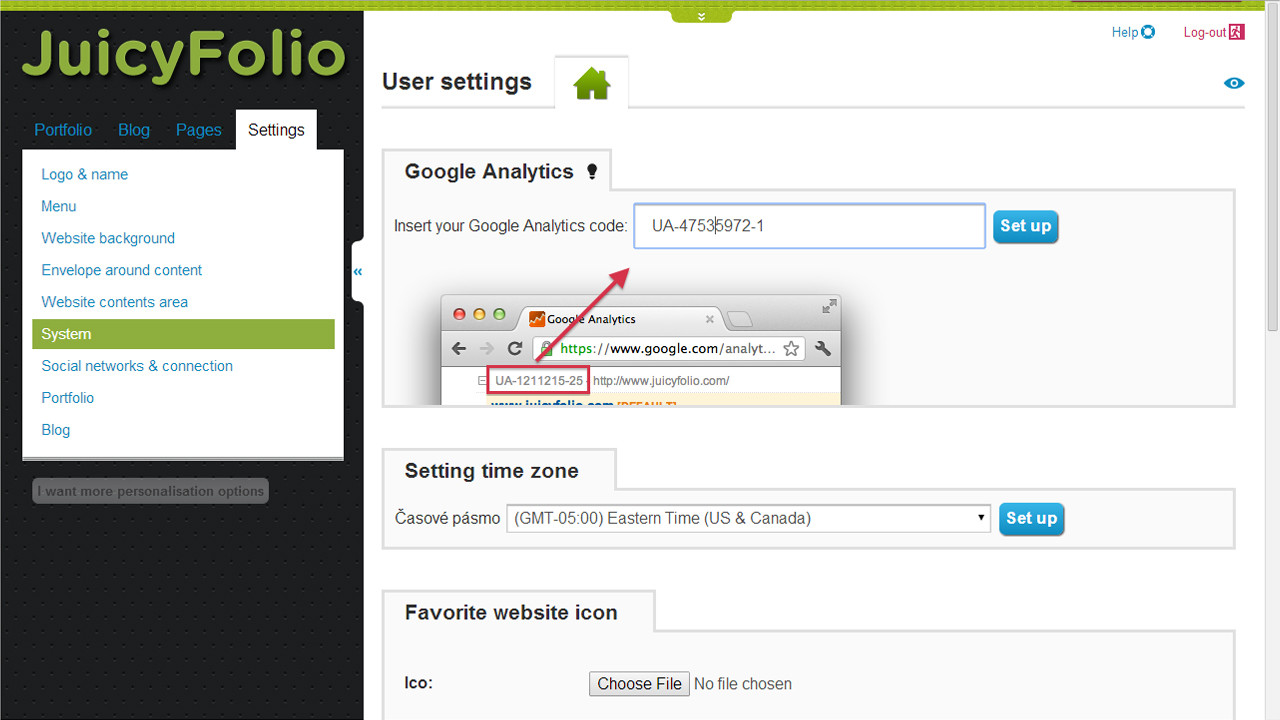
Settings > System > Google Analytics
Paste the copied code to your website: in the administration, click on the Settings folder, then select a System folder from the list on the left side. Than paste the Analytics code to the marked area. Attention! You need to paste only the numerical designation of your code. That will do it.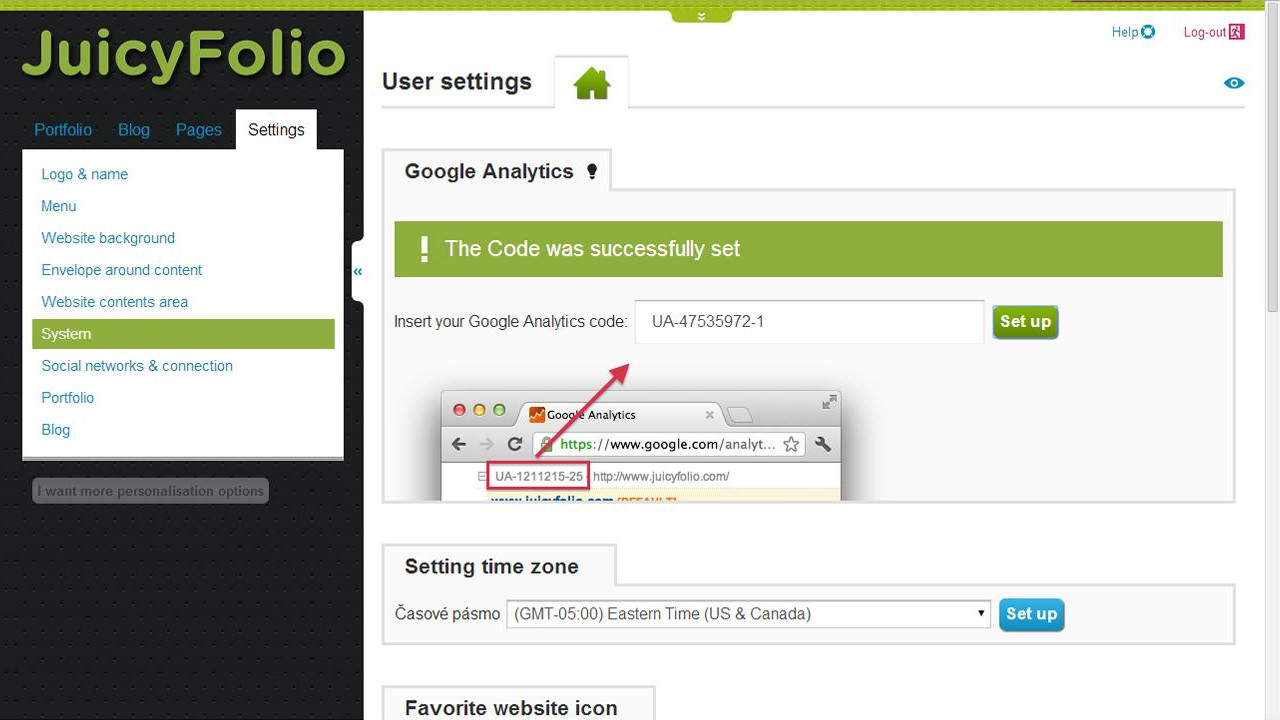
Successful Code Saving
After clicking the "Set" button next to your Analytics code, the successful pasting of the code will be signalized with a green conformation bar which will later disappear.